
3M Certified Installers At Your Service
We are one of the few 3M Certified Installers in Montana and we are proud of that. It’s not something that 3M just hands out to anyone who asks for it. You have to go to their facilities in St. Paul, Minnesota, and take a combination of timed written and practical exams in order to get the certification. We thought it would be helpful to share a bit of that process with you.
What’s the Big Deal?
Well in case you didn’t already know, 3M is an industry leader in vinyl and overall graphics installation, so it’s like having a “seal of approval” from the people who actually manufacture the materials we wrap for you. Before we can even send our team members to Minnesota for the last part of this process, we have to get background checked as a company, with on-site interviews and a promise of future on-site check-ins.
3M will end up listing you as a certified installer on their website, so they want to make sure that they’ve done their homework. Their seal of approval ensures customers that we have liability insurance (protecting your vehicle while it is with us for wrapping, for example) and that we are using the best quality materials for the work.
Day 1
So the first two days are focused on training. Day 1 is a lot of classroom time, looking at Powerpoints about vinyl and what 3M does. Our team members also watched slides on the production process and had a chance to visit the plant.
They found out (as did we!) that every letter and number means something. For example an IJ prefix means “inkjet” which refers to the type of printing you can do on that material. The prefix C refers to “control tac” which refers to how the vinyl is constructed: you can reposition the material during installation, allowing for maximum control during the process.
After all this there was still a bit of time to put what they had seen into practice. There were demo stations all over the place, and the students could target the types of installations they were perhaps shakiest at to get better. Instructors did demonstrations on each station.
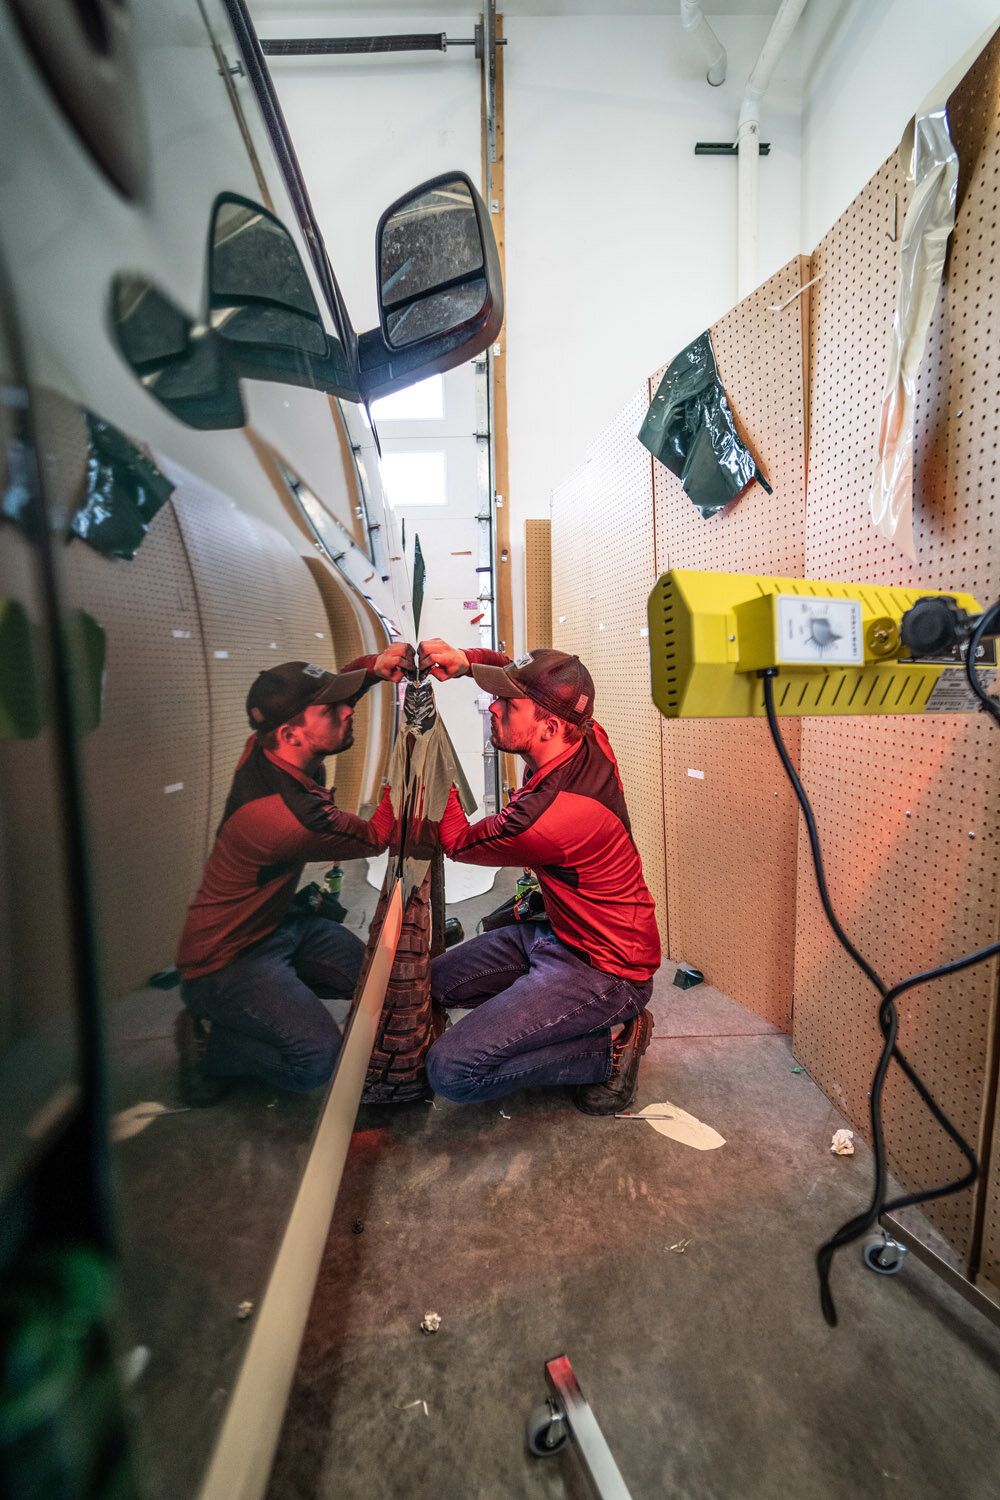
Photo by Sam Soholt

Photo by Sam Soholt
Day 2
Day 2 was entirely given over to practicing on the demo stations. Since these were the exact same type of demos that would be used on the final exam, the students had a chance to face their fears and deal with any difficulties with plenty of time and practice. 3M had staff at each station answering questions and providing limited assistance.
What our team members really appreciated was the instant camaraderie among all the students. If you made a mistake on a station, you shared that with those who were coming on next. If you managed to pull off something particularly well, you’d share that knowledge. There was no lack of competitiveness among students (or even between our team members!) but there was a respect that wanted everyone to achieve. Nobody wanted a student to crash and burn in front of everyone.
Day 3
Day 3 was another full day of practice. What were some of these demo stations, you might be wondering? Some included:
The back of a Ford Transit Van
Mercedes Sprinter Van back door
A Chevy HHR front bumper
A Camaro bumper
Complete Camaro side
Trailers with no shortage of rivets
Brick walls
A wall wrap with a smooth surface
A wall wrap with a rough surface
If Day 2 was about basic competence, Day 3 was making sure that your speed was on point, as that was going to be part of the exam. Our team members told us it felt very much like a full day of work.
Days 4 & 5
After three days of training, it was time to put all that practice to the test. There were twelve stations, broken up into Fleet (think vehicles, box trucks, trailers) and Windows, Walls, and Floors. You had to complete the task in a certain amount of time, though you could exceed it by 50% while losing points.
For example, if you were supposed to complete something in 10 minutes, but you ended up completing it in 15, you won’t have failed that station on time, but you will have been docked points for going over time.
If you did end up failing a station, you didn’t re-do it right away: you went on to other stations first before coming back to try again.
Once you got through all of that there was still a written test comprising two sets of 25 questions. Our team members felt that this was the easier part of the process having done the practical application part of the exam first. They both earned their certifications, making us all very proud!

When you see what our team had to go through you can see that they have the confidence to take care of your wrap not only because they are working with the materials day in and day out here in the shop, but because they’ve seen the materials made and had professionals assist and guide them to best practices. We’re proud to bring those best practices to your projects.
Let us put our expertise to work for you. Tell us about your project!